top of page
How to Install
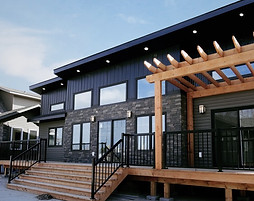
Quality Stone Panels are designed to be quick and easy to
install.
![header-2.jpg](https://static.wixstatic.com/media/4a799d_2298b2978c21463c8224998904cf812f~mv2.jpg/v1/fill/w_123,h_59,al_c,q_80,usm_0.66_1.00_0.01,blur_2,enc_auto/4a799d_2298b2978c21463c8224998904cf812f~mv2.jpg)
Step-by-Step Basic Installation
SAW
MEASURING
LEVEL
NAILS
1
Make a level line to follow, then install the Starter Strip
2
Lock the first row of panels onto the Starter Strip, then screw 3-4 screws into the top, and 1-2 into the side of each panel.
3
Continue in this fashion for every row, making sure to stagger vertical joints. If corner panels are being used, you may need to cut some panels using a miter saw or table saw.
4
If any screw holes or unwanted gaps exist, use Quality Stone Finish Caulking to cover.
![gallery3-1.jpg](https://static.wixstatic.com/media/4a799d_db8763bb528445b388bf1f3bbf3df1be~mv2.jpg/v1/fill/w_121,h_108,al_c,q_80,usm_0.66_1.00_0.01,blur_2,enc_auto/gallery3-1.jpg)
![QSRSDB-Grandin4.jpg](https://static.wixstatic.com/media/4a799d_b8372e55f0fc4bc39babb33f5cd07dac~mv2.jpg/v1/fill/w_97,h_94,al_c,q_80,usm_0.66_1.00_0.01,blur_2,enc_auto/QSRSDB-Grandin4.jpg)
![header-4.jpg](https://static.wixstatic.com/media/4a799d_c1a5aa30319f46a098ab7a2fff3ac670~mv2.jpg/v1/fill/w_67,h_32,al_c,q_80,usm_0.66_1.00_0.01,blur_2,enc_auto/header-4.jpg)
![gallery1-1.jpg](https://static.wixstatic.com/media/4a799d_49149d29958f46948a102c669d536988~mv2.jpg/v1/crop/x_20,y_0,w_650,h_515/fill/w_63,h_50,al_c,q_80,usm_0.66_1.00_0.01,blur_2,enc_auto/gallery1-1.jpg)
bottom of page